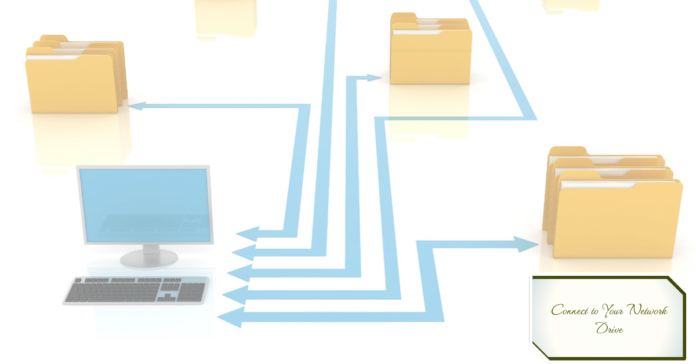
Sharing files across devices is a breeze with network drives. No more emailing documents to yourself or digging through USB sticks! By connecting to a network drive, you can access files on another computer or a Network Attached Storage (NAS) device just like they’re on your own machine.
Whether you’re a Windows or Mac user, this guide will have you mapping network drives like a pro in no time.
Before You Begin: Network Drive Essentials
Before we dive into the how-to, let’s make sure you’re all set:
- Stable Network Connection: First things first, you’ll need to be connected to the network where the drive you want to access is located.
- Permissions: You’ll need the right permissions to access the network drive. This is usually handled by the network administrator.
- Network Path: This is the drive’s address on the network. It might look something like \\server\folder for Windows or smb://server/folder for Mac. Your network admin can provide this, or you can sometimes find it in the properties of an already mapped drive.
Mapping a Network Drive on Windows: Three Easy Methods
Windows offers several ways to map a network drive. Let’s explore the most user-friendly options:
1. Mapping with File Explorer:
This visual method is perfect for those who prefer a point-and-click approach:
- Open File Explorer: Click the File Explorer icon on your taskbar or hit Win + E.
- Go to ‘This PC’: On the left side, click ‘This PC’.
- Map Network Drive: At the top, click ‘Computer’, then select ‘Map network drive’.
- Choose a Drive Letter: Pick an available letter from the dropdown menu. This will be how you identify the mapped drive.
- Enter Network Path: Type the network path in the ‘Folder’ field.
- Reconnect on Startup: Check this box if you want the drive to reconnect automatically every time you log in.
- Finish Up: Click ‘Finish’ and enter your network credentials if prompted.
2. Mapping with Command Prompt:
If you prefer using commands, this method is for you:
- Open Command Prompt as Admin: Type cmd in the search bar, right-click on Command Prompt, and select ‘Run as administrator’.
- Use the ‘net use’ Command: Type net use Z: \\server\folder (replace Z: with your chosen drive letter and \\server\folder with your network path) and press Enter.
- Credentials: Enter your network credentials if asked.
- Check It Out: Open File Explorer to confirm the drive is mapped.
3. Mapping with the Run Dialog:
This is the fastest way to map a drive:
- Open Run: Press Win + R.
- Enter Path: Type \\server\folder and press Enter.
- Credentials: Enter your network credentials if asked.
- Access: The drive should now be accessible in File Explorer under ‘Network’.
Mapping a Network Drive on Mac:
Mac users can follow these simple steps:
- Open Finder: Click the Finder icon in your dock.
- Connect to Server: Go to the menu bar, click ‘Go’, and select ‘Connect to Server’.
- Enter Network Path: Type the path using the format smb://server/folder.
- Connect: Click ‘Connect’ and enter your network credentials if needed.
- Access: The network drive will appear on your desktop and in Finder.
Connecting to a NAS Drive:
Connecting to a NAS drive is very similar to mapping a regular network drive:
- NAS Setup: Make sure your NAS is powered on and connected to the network.
- Follow the Steps: Use the appropriate Windows or Mac instructions above, using your NAS’s IP address or hostname as the network path.
- NAS Credentials: Enter your NAS login details if prompted.
- You’re In! Your NAS should now be accessible as a network drive.
Troubleshooting Tips:
Running into issues? Here are some common fixes:
- “Network Path Not Found”: Double-check that the network path is correct and that the device you’re trying to connect to is turned on and connected to the network.
- “Permission Denied”: Make sure you have the right permissions to access the network drive. You might need to commerce your network administrator.
- Unstable Connection: Check your network settings and try restarting your router or computer.
Conclusion
Network drives are incredibly useful tools for anyone who needs to access files from multiple devices or collaborate with others. By learning how to map a network drive, you’re opening the door to a more streamlined and efficient workflow. Happy sharing!For a deeper dive into networks and how they work, check out this comprehensive guide.


